I love getting my hands on buffets. They can be used for so many things. You can use it to place your TV on, you can us it for its intended purpose which is in the dining room or you can use it in almost any room in your house.
There was nothing cosmetically wrong with this buffet except for the fact that it was dated and tired.
It sat in my garage for quite a while. I just couldn't find the inspiration needed for it.

We have a vendor at the Rancho Co-Op that sells vintage market chalk paint and accessories. I had heard a lot of great things about this paint but it's kind of on the pricey side...well, for me anyway! I'm a little cheap when it comes to chalk paint...well, not necessarily true since I do use Annie Sloan paint which is even more expensive....


Anyhow, I thought I would buy some of this much-talked-about paint and try it on this buffet.
I chose the color cotton which is just a bright white. I hadn't painted anything white in a while and it was time... White furniture usually flies out of the store in record time!
Before I got started on painting the body, I stripped the top. I wanted a natural wood finish for the top.

This was my first time using Citristrip stripper. It was super easy and I will definitely use it again in the future. However, here are a couple of things I would do differently next time: watch out for over spray, wear gloves and tape off the areas that I don't want to get on the piece I'm stripping.

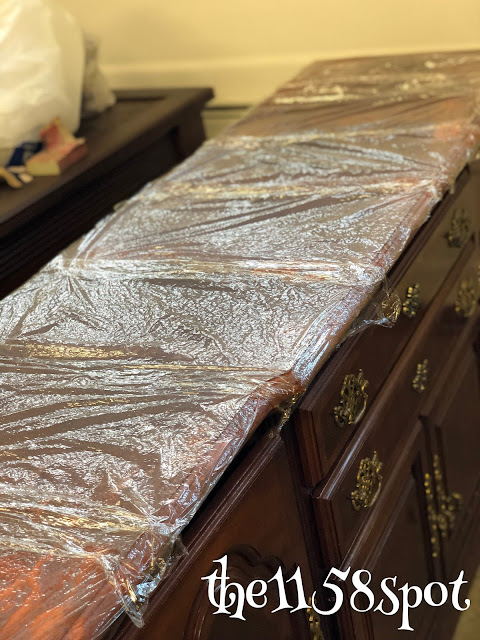
I had read somewhere that it's a good idea to wrap your piece in plastic-wrap after you spray it with stripper. So that's what I did!

I let it sit wrapped for 24 hours and then I used a metal scraper to take the stripper off. It came off like butter! That was a really messy task though! That stuff is sticky.
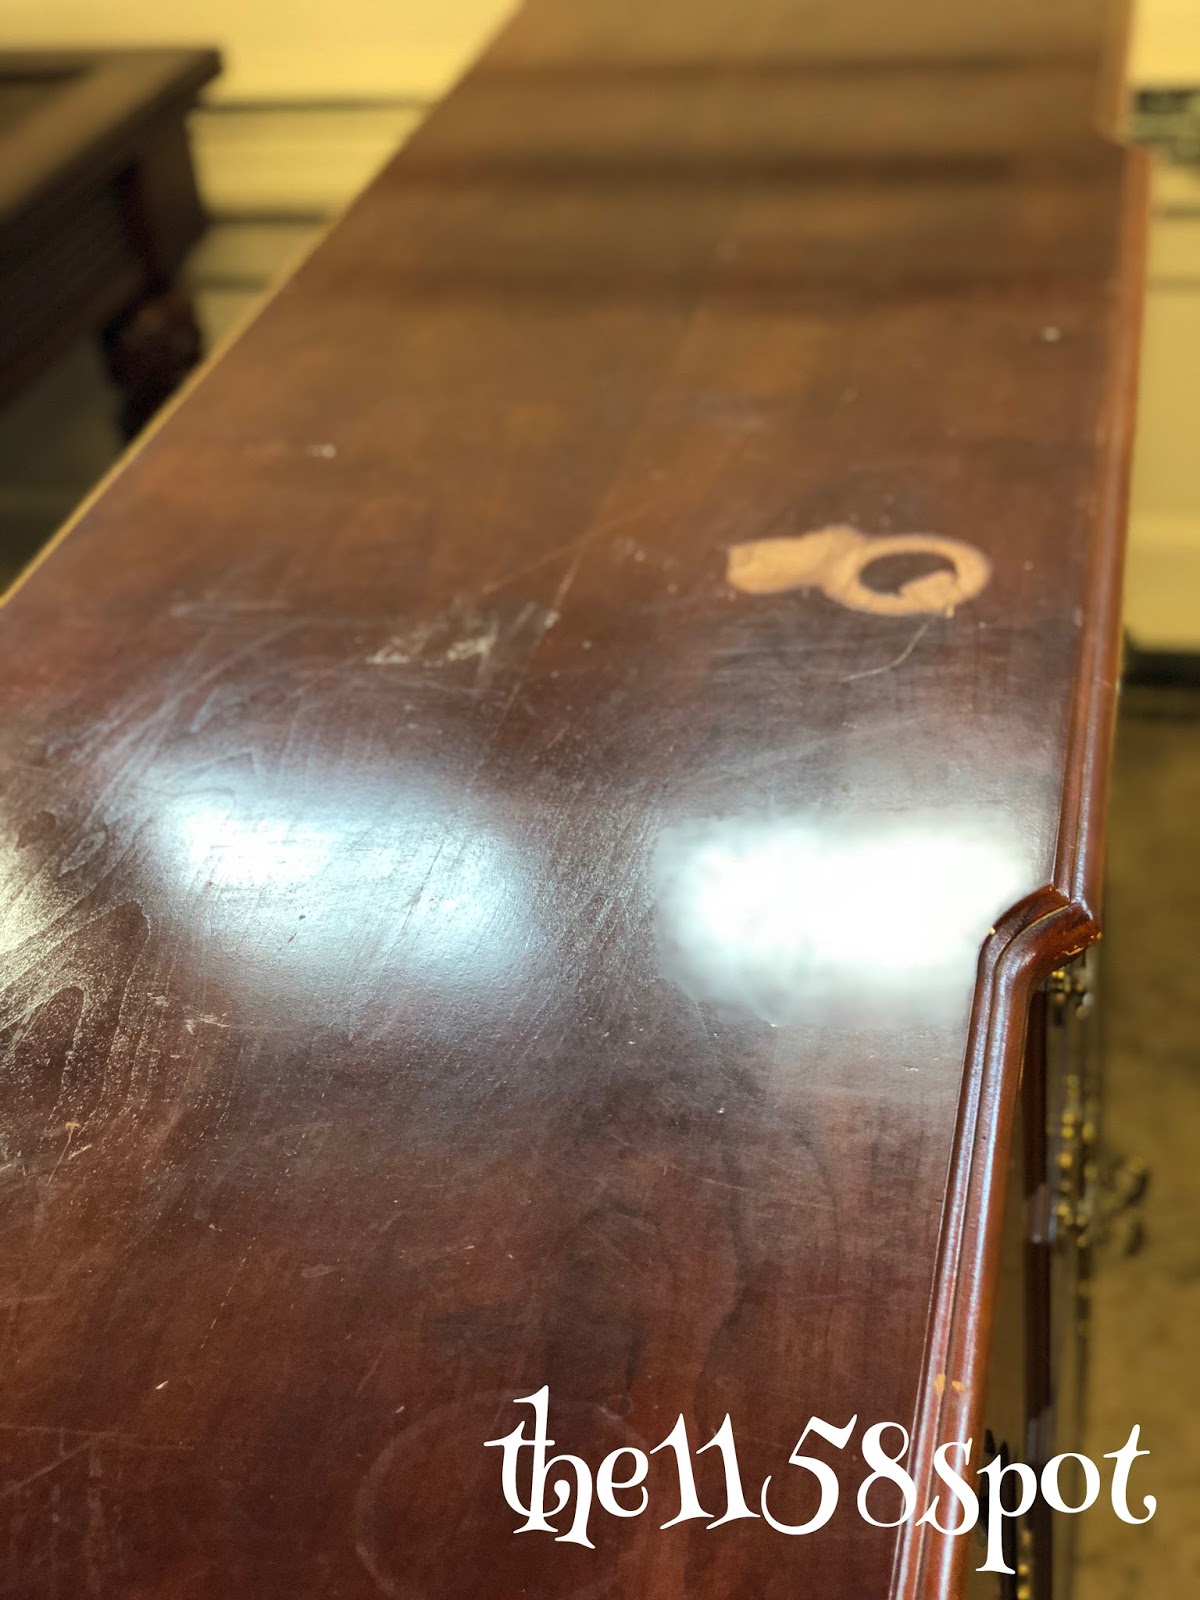
After I removed all of the stripper, I cleaned it really well and then sanded it down to a smooth finish.
I applied this miniwax stain to it and I just love the results!
I followed the stain with 2 coats of a polycrylic polyurethane to seal it.


Here is a good before and after below!

I then painted not one, not two but three coats of that white paint to the body of this piece!! Ugh so much work! lol
I don't know if it's because of the paint I used or if it's because it's white paint covering a dark piece???? Anyhow...the result is quite beautiful!
Don't you think??

I sprayed the hardware white.

I used these finishing pads on the body and wow those are a game changer! Dear Finishing Pad, where have you been all of my life??
You just rub your piece with these finishing pads and it makes your painted piece as smooth as butter! Those are definitely worth the $3 I paid for them!!! They are great if you don't want a distressed look but still want the smooth finish.

Here's a close up of the top. Isn't it gorgeous? It's a really light gray color that I don't think translates well in the pictures.

Here's another painting tip... I like to have my pieces on a dolly because it makes it easier to paint the bottoms and also makes it easier to move around.

Here the top looks really dark. It was much lighter in person.

One last time here is the before and after...

This piece flew out of the store. I think it was in there 2-3 days maybe? It's the white paint! I'm telling you! Haha!
Thanks for checking out my latest transformed piece!
Have a wonderful weekend!
xoxo
Delilah
No comments:
Post a Comment